


Save 30%
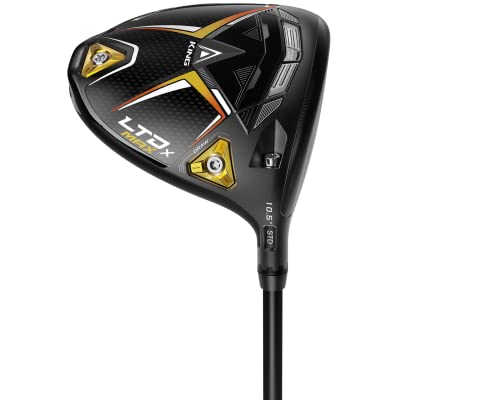
Cobra Golf LTDX Max Driver Matte Black
- Pwr-cor technology
- Hot face-highly optimized technology
- Cnc milled infinity face
- Multi-material chassis
- Adjustable weighting
Great Deal
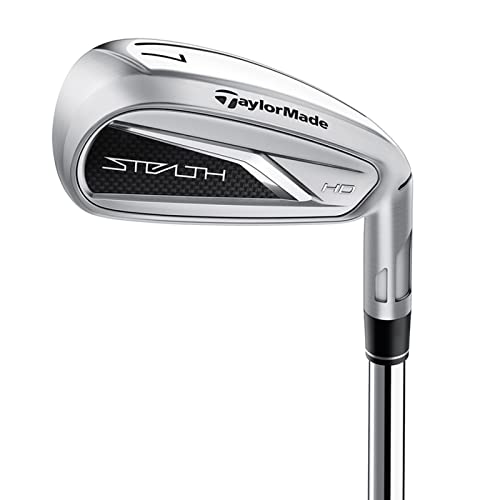
TaylorMade Golf Stealth Iron Set
- Increased sole curvature assists with turf interaction
- Multi-material cap back design
- Designed to maximize distance, forgiveness and feel
- Postioned inside the iron head
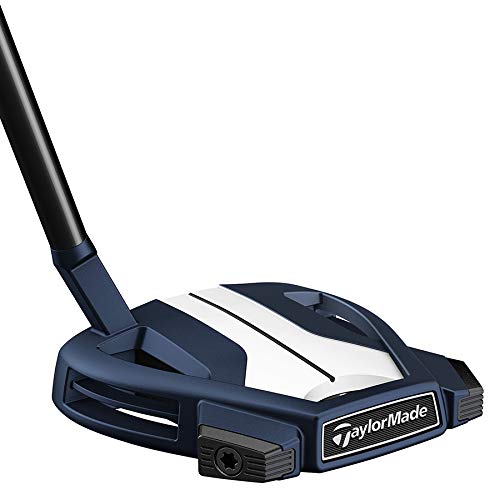
Save $50
TaylorMade Golf Spider X Putter
- True Path Alignment System
- Increased Stability
- Improved putting accuracy
- Optimal stability and alignment
The back of the left hand also stays flat and in line with the rest of the left arm. A good visual here in terms of the role of the left hand is this…think of the back of your left hand as being the clubface. Where it goes, your clubface goes. Keeping it flat means a square clubface.
The wrist of the left hand, however, is moving. The movement of the wrist in this case is in what is known as Radial Deviation. Basically, it is starting to hinge up.